Securing the rack to the hitch
Assembling and mounting the rack doesn’t take long. I assembled the rack itself in about 20 minutes; there are only a few parts to bolt together. The 24mm threaded bolt that attaches the hitch rack to the receiver offers a more secure fit than the models with the expansion bolts. All racks have a bit of sway once mounted, but my sense was that the Yakima OnRamp LX had less than most.
Loading bikes
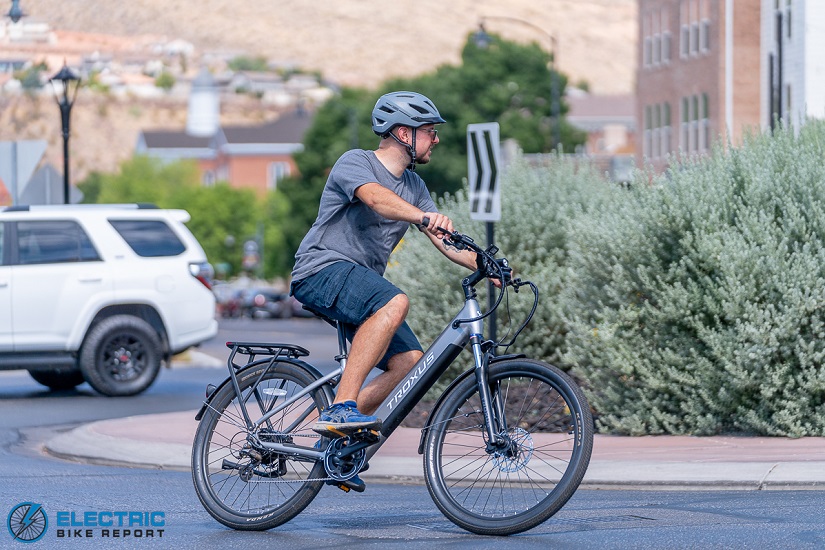
Thanks to the ramps integrated in the trays, it’s easy to roll an e-bike into position. The bigger issue here is making sure that the trays are positioned properly so that the two e-bikes don’t interfere with each other. Once that is dialed, the e-bikes roll into position with ease.
While many hitch racks mount both trays on a central arm that comes off the mount, the OnRamp LX is different in that there is a large, square-shaped frame to which the trays are mounted. What this does is give a more stable platform for the trays, which cuts down on sway and wiggle. That’s good.
However, the trays are bolted into position on one side, while a hand-tightened knob is on the other. The side that is bolted in determines, in part, both how wide and how far to the left or right the tray will sit. We would like this rack a little better if there were knobs on both sides, though, so that it would be easier to slide the whole tray side-to-side more easily as well as adjusting width simultaneously.
The reason why is that the e-bikes have to be positioned left-to-right so that the lobster claws can reach the frame or seatpost; because it can’t be moved, the bikes must be shifted into position relative to the arm.
After rolling an e-bike up the ramp, the tray must be adjusted to the correct width, which is wide enough for the wheel straps to secure each wheel. If the lobster claw can’t reach the frame or seatpost, then the e-bike must be removed and the tray position must be adjusted. When adjusting the outer tray, you have to make sure that it is in position to prevent interference between the handlebars, saddles and pedals.
Once the e-bikes are secured, the ramp can be removed and then attached to the rack so that you’ve got easy access to it when you arrive at your destination.
We can’t emphasize enough how helpful it is that Yakima gave the OnRamp LX trays that expand to a maximum width of 54 in. With many of the cargo e-bikes on the market, there are no hitch racks that can accommodate them. The OnRamp LX may be the only option for some cargo e-bikes.
Securing the bikes
The center mast is pretty easy to adjust, but there are a couple different knobs that must be tightened in order to secure an e-bike. Because the lobster claws that secure the e-bikes can move in three dimensions, getting them set up the first time may require a bit of effort, but once you do it the first time you won’t have to start from scratch with repeated use.
There is an order to adjusting the e-bikes in the trays. Roll the e-bike up the ramp and make sure that the tray is adjusted to the proper width for the e-bike’s wheelbase. Next, secure the wheels using the ratcheting wheel straps; again, the tray width may need to be adjusted to fit the e-bike. Once the wheels are secured, then the lobster claws can be positioned to grab the frame or seatpost.
The lobster claws adjust in three different ways: Their height can be adjusted. The rotation around the arm can be adjusted, though it’s best if the lobster claw is as perpendicular to the e-bike as possible. Finally, the twist of the clamp can be adjusted so that you can match the angle of the claw to the angle of the top tube or seatpost. While it may be possible to clamp your e-bike in other locations, those two will offer the greatest stability.
For many people, clamping the lobster claw to the top tube will be the easiest way to secure the e-bike. That said, some people may be concerned about the possibility that the clamp may marr the finish of their e-bike (this is especially true if there are decals on the top tube and there is no clearcoat of paint over them).
If you count yourself among those folks, we recommend clamping the lobster claw to the seatpost. Most seatposts have either a silver or black anodized finish that’s difficult to damage and it provides a stable place to secure the e-bike.
Trunk / Tailgate access
The Yakima OnRamp LX features a lever that will allow the rack to be positioned at three different angles. When not in use, it folds up flat, against the back of the vehicle. Pull the lever and it folds out, ready for you to load bikes. The lever can be pulled yet again to fold the rack down, so that when bikes are loaded, it swings them away from the rear of the vehicle so that the vehicle’s tailgate, rear hatch or trunk can be accessed.
Some care needs to be taken when folding the rack down for vehicle access; you will want to support the weight of the e-bikes on the rack before pulling the lever; we recommend holding the rack itself.